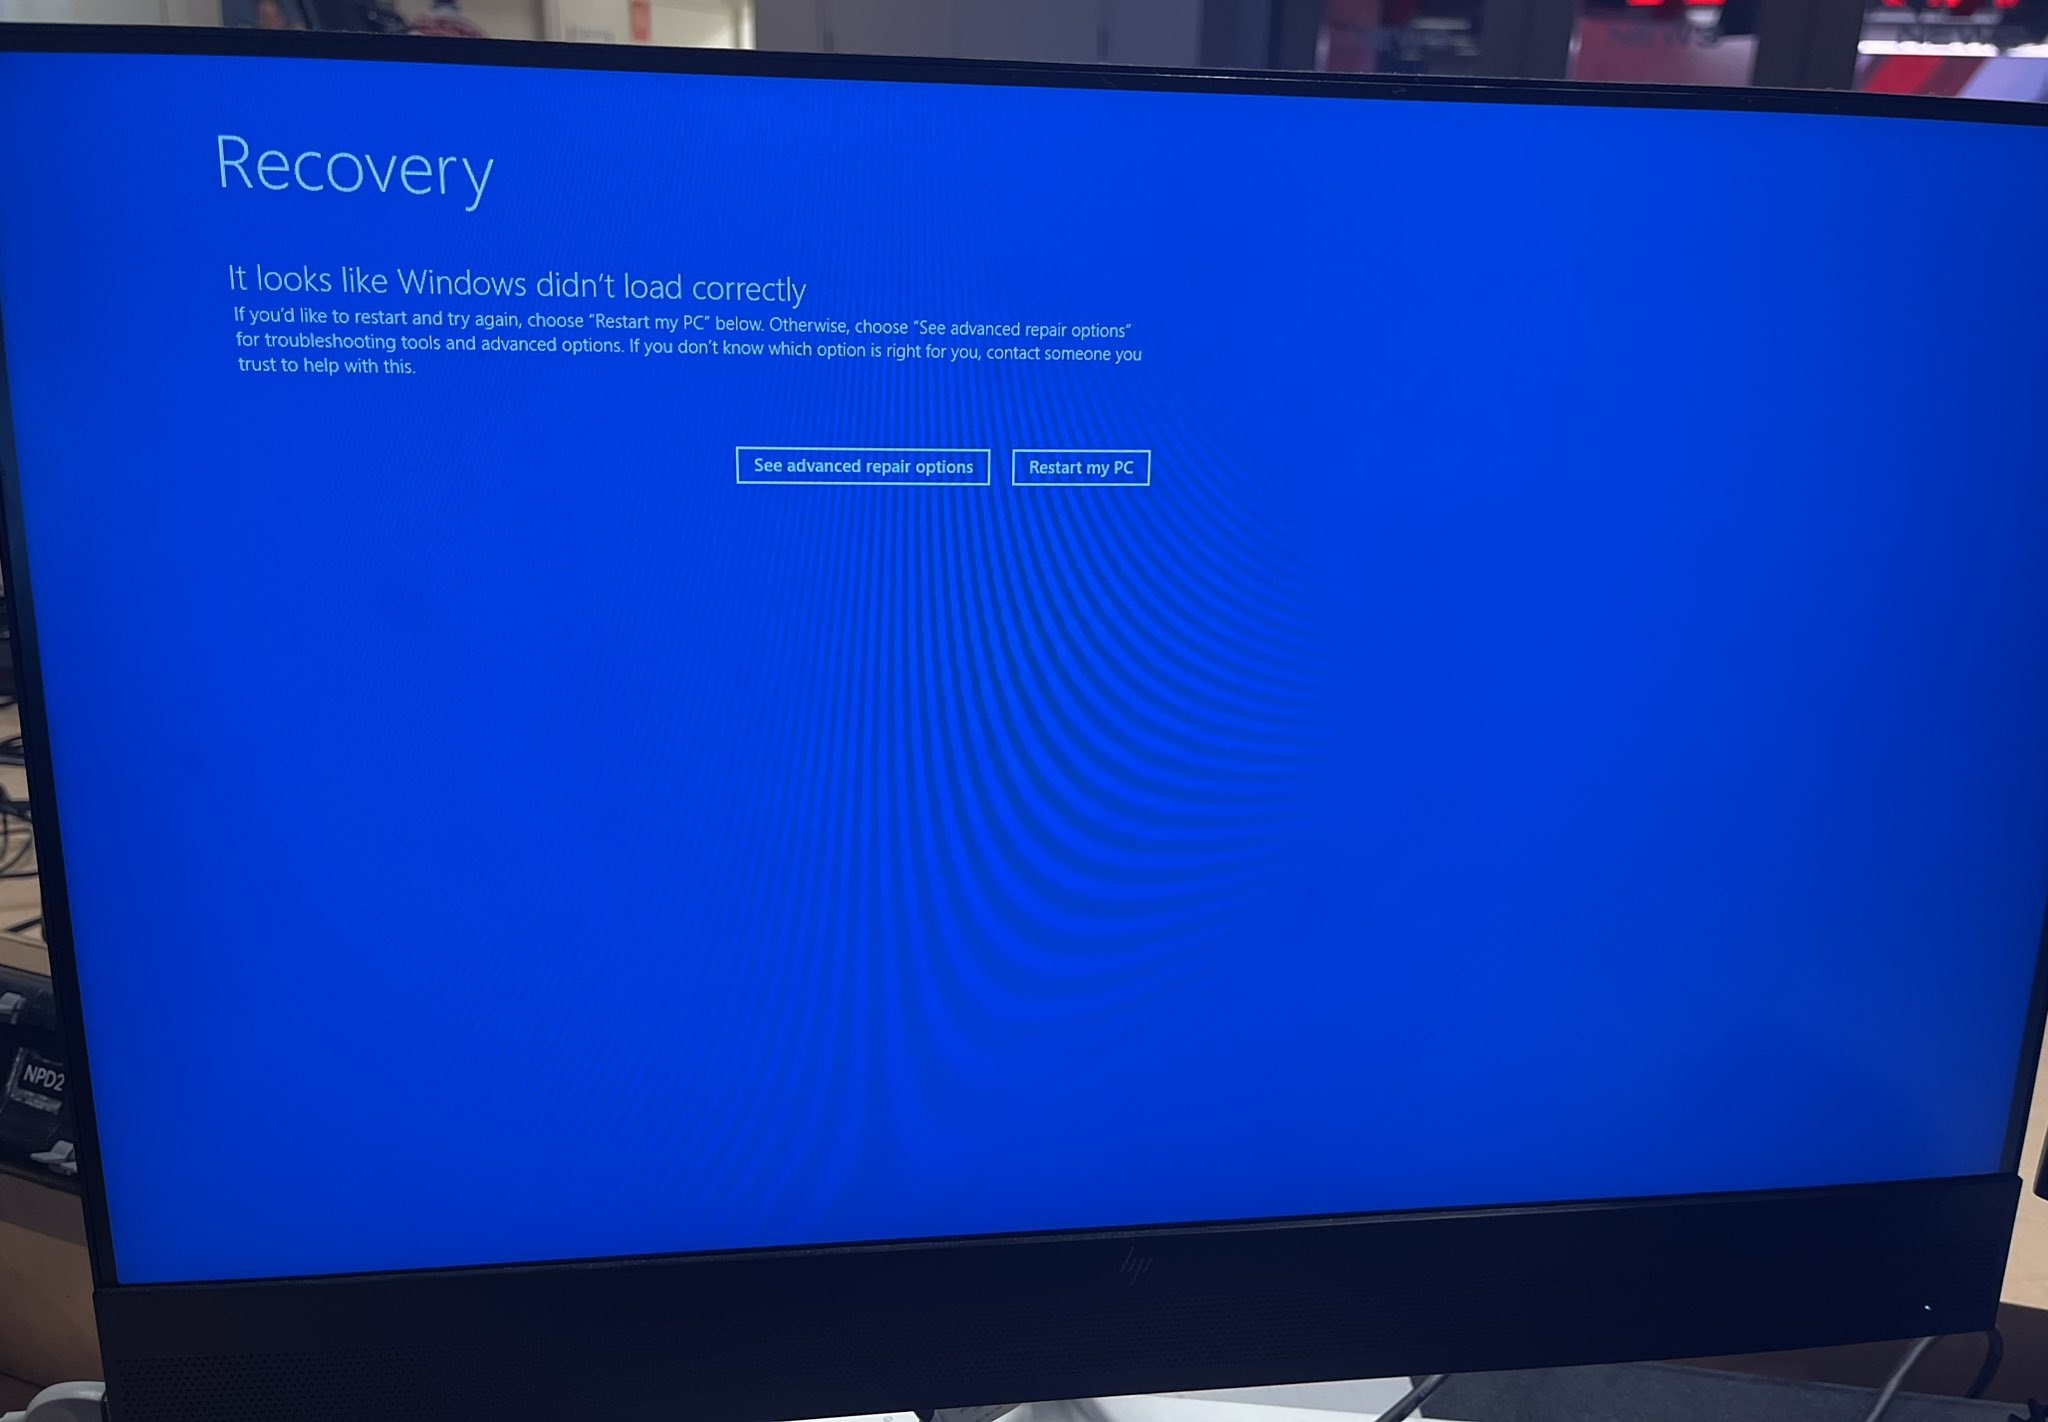
A recent CrowdStrike update for Windows hosts causes a “Recovery” loop where Windows warns that you can either choose “Restart my PC” or “See advanced repair options” for troubleshooting tools and advanced options. This BSOD error can be fixed on multiple PCs by modifying WinPE and deploying it across all PCs using a PXE boot server.
In a support document, CrowdStrike confirmed the reports and offered multiple workarounds, but the current solutions may not be helpful when you’ve hundreds or thousands of systems in your organization. This outage has disrupted airlines, IT firms, schools, universities, healthcare and other organizations.
Thankfully, some IT admins have discovered a new method to automate the patch process to some extent. The new method can automatically patch the CrowdStrike Blue Screen of Death (Recovery screen, it looks like Windows didn’t load correctly) error by booting all your PCs from a modified WinPE image.
Remember that the workaround requires you to use Windows Assessment and Deployment Kit (ADK) for your environment, and it may not work with encrypted PCs unless you’re willing to try some new commands.
The workaround removes the faulty file (C-00000291*.sys), which is responsible for the Blue screen error on Windows PCs with CrowdStrike.
How to automatically fix CrowdStrike BSOD Reboot Loop on Windows 10
Before I discuss the steps, let’s understand the approach first. In this guide, we’re going to use a PXE boot method. First, we’ll use Windows Assessment and Deployment Kit (ADK).
Then, we’ll modify a WinPE image by mounting it and adding a command to delete the problematic file (C-00000291*.sys) in the startnet.cmd file.
Finally, to deploy the fix across all PCs, we’re going to set up a PXE boot server with this modified WinPE image. Then, we need to configure all impacted systems to boot from the network using PXE. When each system boots, it will automatically run the script to delete the problematic file.
Here’s how to automatically fix BSOD and recovery screen loop bug on Windows 10:
- If you don’t already have Windows Assessment and Deployment Kit (ADK) for your environment, download and install it from Microsoft’s website.
- You’ll also need to use Wimlib or Microsoft’s tools to mount the WinPE image. If you’re familiar with DISM, you can try the following command:
dism /Mount-Wim /WimFile:"C:PathToWinPE.wim" /index:1 /MountDir:"C:PathToMountDir"
- In the above code, you need to replace “C:PathToWinPE.wim” with the path to your WinPE image file and “C:PathToMountDir” with the directory where you want to mount the image.
- Once done, you’ll need to edit the startnet.cmd file. In Command Prompt, run the following command:
cd "C:PathToMountDirWindowsSystem32"
- Open startnet.cmd in a text editor and add the following lines:
del C:WindowsSystem32driversCrowdStrikeC-00000291*.sys
exit
- Save and close the startnet.cmd file.
- After saving the startnet.cmd file, you need to unmount the WinPE image by using the following DISM command:
dism /Unmount-Wim /MountDir:"C:PathToMountDir" /Commit
If you followed the steps correctly, you have successfully created a new WinPE with a patch for CrowdStrike BSOD.
If you’ve a single or multiple PCs affected by CrowdStrike BSOD, you can create a bootable WinPE Media by following these steps:
- Copy the modified WinPE image to a USB drive and make it bootable using a tool like Rufus.
- In Rufus, select your USB drive.
- Choose the modified WinPE image file.
- Click Start to create the bootable USB drive.
- Turn on your impacted system, insert the bootable USB drive, and boot from the USB drive by selecting it in the BIOS/UEFI boot menu.
The system will boot into WinPE and automatically execute the commands in startnet.cmd, deleting the problematic C-00000291*.sys file.
If you want to patch all your devices in the organization, you’ve several options now, including PXE Boot.
You can set up a PXE boot server setup where you can place the modified WinPE image on the server and configure the PCs to boot from the network.
What about the BitLocker encrypted PCs?
That’s something you need to test on your systems, but as some people noticed on Reddit, you may be able to use manage-bde -unlock in WinPE to handle BitLocker-enabled PCs during the patching process.
In WinPE, the command manage-bde -unlock allows you to unlock these encrypted volumes using either a recovery password or a recovery key file.
For instance, you can unlock the BitLocker volume, navigate to the CrowdStrike directory, and delete the problematic C-00000291*.sys file causing the blue screen errors.
You can use ‘manage-bde -unlock X: -recoverypassword <recovery key>‘ in WinPE. Or can also use a keyfile instead of a password. Swap -recoverypassword with ‘-recoverykey <filename>‘
As always, you can also refer to the official ‘manual’ method or wait for an official automated fix from CrowdStrike, but the process isn’t going to be easy.
The post How to automatically fix Windows 10 CrowdStrike BSOD, recovery boot loop appeared first on Windows Latest